How Your Simple Drawings Can Be Part of Something Big
In many of my drawing classes and activities, I’ve noticed that the concept of drawing can be daunting once you became an adult—especially if you are not in the habit of doing it regularly.
Somehow when growing up, many of us lose the simple joy and nonjudgemental approach of drawing we had as kids. For me, I easily find beauty in all kinds of drawings, and I like the fact it is always very personal—as personal as handwriting. It is that love of the drawing media and the willingness to be inclusive of all artists, beginners to advanced, that inspired Sophie Babeanu and me to set up The Big Picture Art Project.

Participating in the Big Picture Art Project
In The Big Picture, participants from across the globe simply upload square-sized drawings and share a little bit about their personal stories. These drawings are meant to illustrate a little slice of the participant’s life—a snapshot of his or her story, whether capturing a moment from the past or present.
Once submitted, the drawings will become part of a mosaic panoramic picture of the Vancouver rainforest, which can read like a book or be searched like an online map.
When it comes to what type of drawing to include, possibilities are endless. If interested in the collective art project, you can use a marker, fine liner, ink, dipping pen, fountain pen, pretty much any tool to make a black drawing on a white background. You can draw from life or from a photo reference. The choice is yours. And, in case the endless array of awesome possibilities aren’t enough to inspire you to take part, read on for a few easy drawing techniques to get you started.
Line Contour Drawing
In a simple line contour drawing, you are just focusing on the outlines of the object you are drawing, meaning you can keep everything very minimalist and simple. And, if you are more of a novice drawer, you can start with graphite and then go over your drawing with ink. Once the ink has time to dry, you can always erase your pencil lines!
Here are two examples of contour drawings. The first drawing is of a man who was sitting on a plane I was on; as you can see, I kept this one very simple. The second picture is of the view from my hotel when I was on a trip to Las Vegas—which I barely survived.


Blind Contour Drawing
Blind contour drawing is when you draw something without looking at your paper. This may seem counter-intuitive, but this technique often yields interesting results. And, if for nothing else, is a great exercise to let loose, have some fun and break the ice before launching into a new drawing. Of course, don’t expect accuracy or likeness with this technique! (But isn’t that part of the fun?)

Cross Contour Drawing
Cross contour drawing means drawing the outlines of your subject and then adding lines across the subject to describe the volumes. Here are two hand drawing examples that were made following this technique. Notice how the lines help illustrate a sense of three-dimensionality to the drawings.


Adding a Touch of Color
For the Big Picture, you can add a few pops of color in your drawing. In these two examples, I used Inktense markers to add a touch of color to contour drawings.
The first drawing is of rooftops in Paris, with brick chimneys colored red. The second image is a drawing I made from a reference picture pulled from one of my videos, showing off the materials used with pops of bright color.


Line-hatching
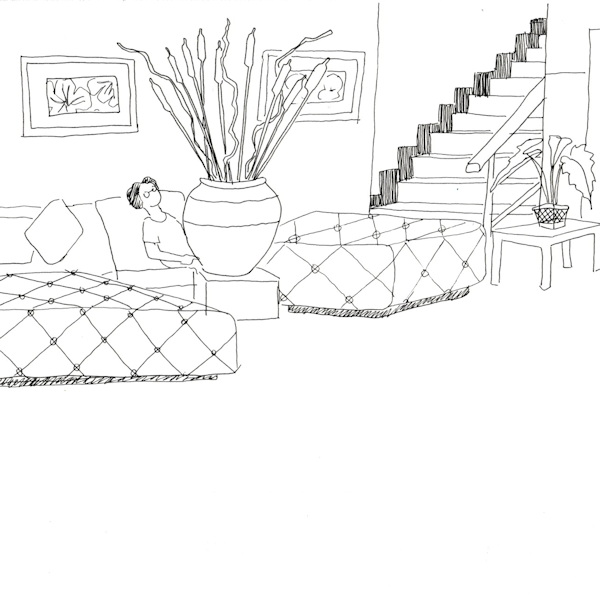
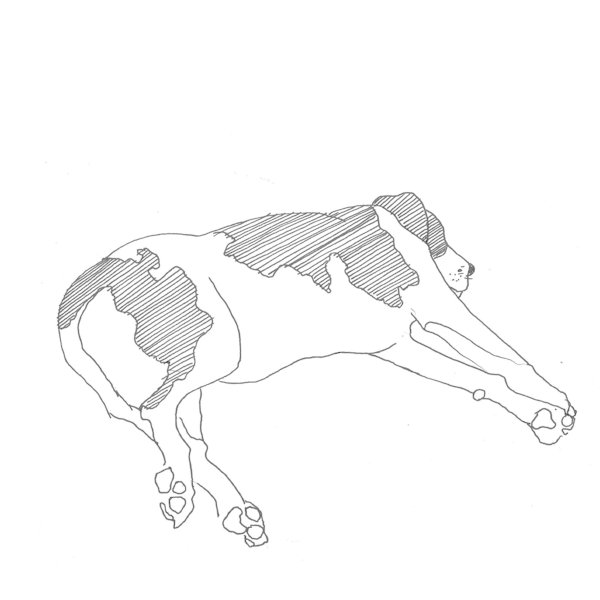
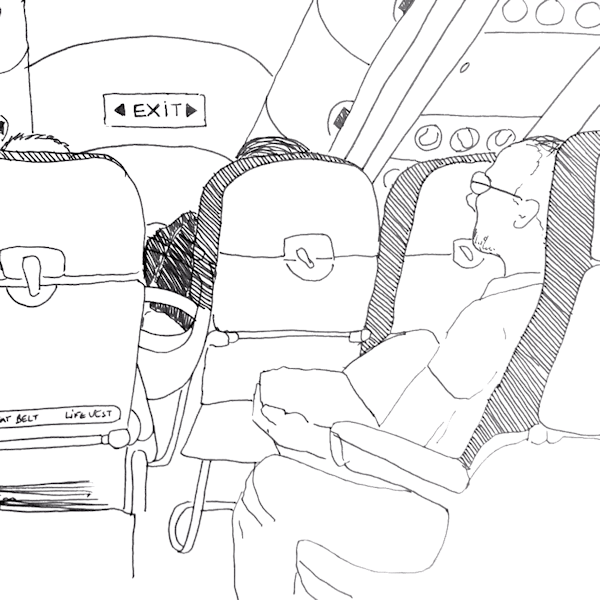
You can add simple parallel lines to your contour drawing to represent different shades of gray, values, depth or color.
The first drawing is of a hotel lobby, and the second one is my dog, Java, sleeping on the couch. The third one is another example of a quick drawing I made while on a plane.
Cross-hatching
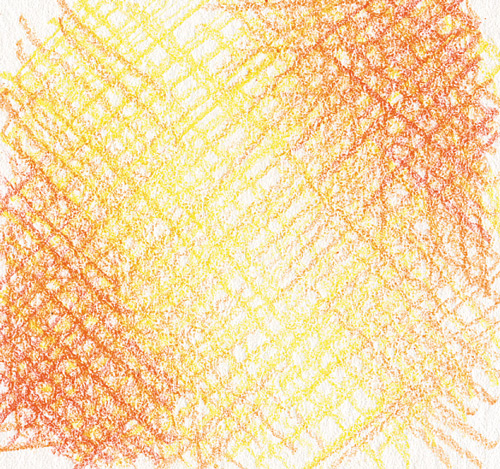
Cross-hatching is similar to line hatching except you make the hatching lines cross one other to get different values and shades of gray. Below you will see an example of cross-hatching used on a drawing of a plant (the first image is zoomed in so you can see it more).

Scrumbling
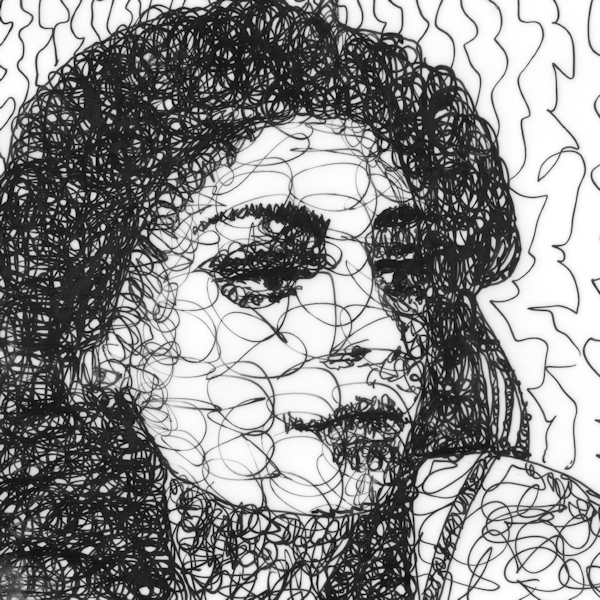
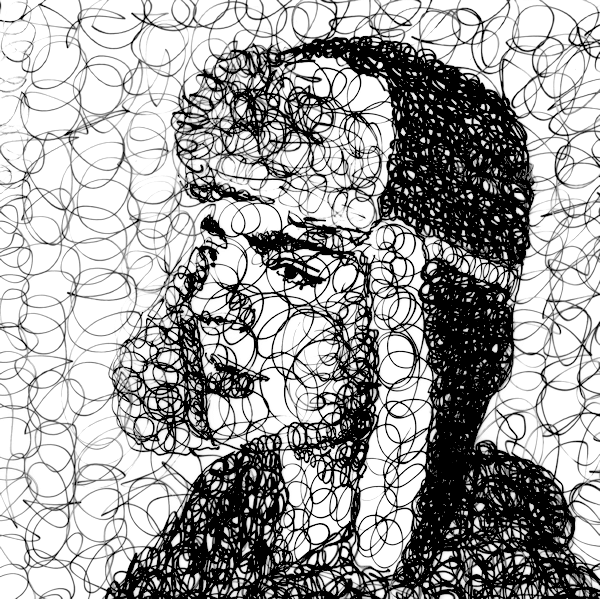
Try scribbling with different degrees of intensity on the areas you want to shade, in a process called scrumbling, for another interesting shading technique.
If you are using this technique on a difficult subject, such as a portrait, you can use tracing paper or translucent YUPO paper to work on your scribbles while still being able to see your reference picture underneath. Additionally, you can start with a simple contour drawing and add the scrumbling afterward.

Mixing Ink Washes and Lines
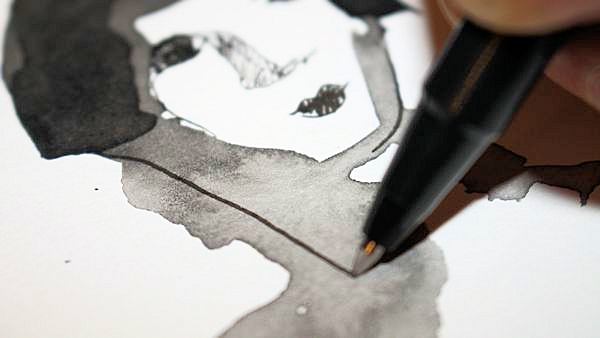
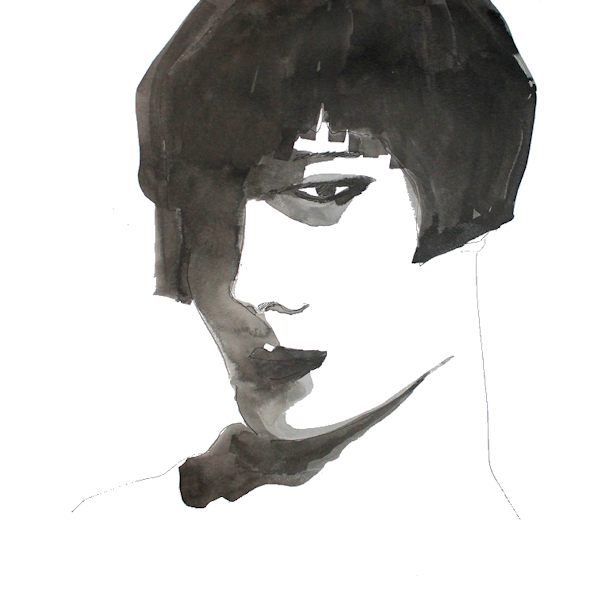
Another technique I really enjoy using is mixing ink washes and fine lines, which is shown in the two images below. I usually start with big loose washes, adding details and definition with lines.
Patterns
Enhance your basic line drawings by adding patterns. This is a time-consuming process, but you can create different shades of gray by using patterns that are more or less dark, which helps create more visual interest in your drawings. Below are drawings of a cross section of a tree and a reclining figure.


Digital Drawings
You can find tons of free mobile apps as well as websites that let you create digital drawings. One convenient advantage of making a digital drawing is that you don’t have to worry about scanning or uploading a picture of your drawing, because it is already in a digital file when you’re finished. Plus, digital drawings can just be a lot of fun to create!


I hope these easy drawing techniques will help inspire you to start drawing, and hopefully encourage you to join in the fun by participating in something big. We can’t wait to see what drawings you will upload on The Big Picture!
Check out the video below for even more information on The Big Picture Art Project.
~Sandrine Pelissier


Have a technical question?
Contact UsJoin the Conversation!