6 Ways to Spruce Up Your Landscape Pencil Drawings!

From rocks, mountains, and trees to rushing and still water, discover six tips to improve your pencil landscape drawings.
By Claudia Nice
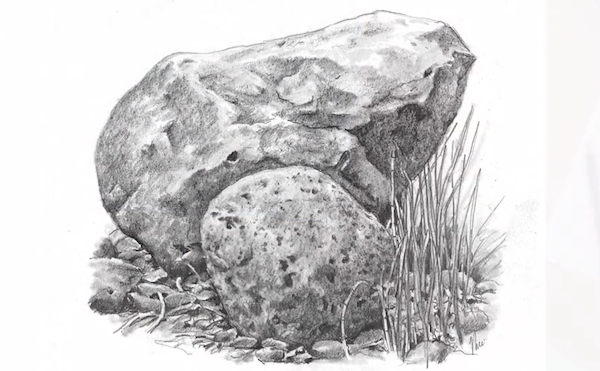
1. Create Texture for Realistic Rocks
When making landscape pencil drawings, try using sandpaper or even real rocks with crags and fossils to create realistic textures from rubbings with your pencils. Use contrasts of light and dark to create nooks and crannies in your rocks. And pay attention to edges — use your paper stump for soft, smooth planes on your rocks, and lay in hard lines to denote direction and sharp angles where rock changes like a fold, or breaks.
2. Make Majestic Mountains and Hillsides
From evergreens on a distant hillside to snowy and rocky crags in mountains, bring a sense of majesty to your landscape drawings with exciting backgrounds. Use directional pencil strokes and scribbles to create groups of trees in the distance, smoothing out the texture with a paper stump to push trees into the distance.
3. Draw Scribbled, Not Stylized, Evergreen Trees
First draw the trunk, then the triangular outer shape, then add in the branches lightly as the foundation. This is your foundation. Then fill in the needles with a loose scribble stroke and value contrasts. Don’t forget the branches coming at you — adding these will make your tree less stylized and more realistic as you practice landscape pencil drawings.
4. Use Contour Lines for Deciduous Trees
Start complicated tree drawings with a light outline of the trunk, branches, and leaves. Then fill in with contour strokes and a variety of pencil pressure for darker and lighter passages. When you pay attention to the direction of your stroke and make sure it follows the form of the tree, you’ll see realistic results.
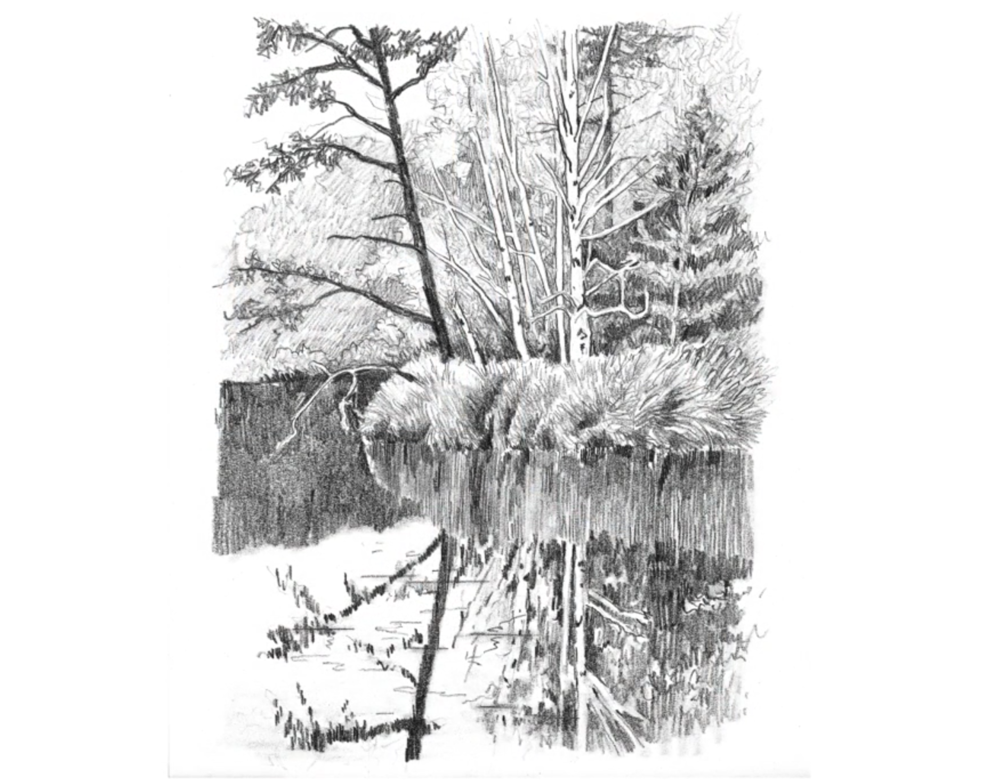
5. Use Deliberate, Straight Lines for Still Water
Drawing still water is just a matter of learning how to draw reflections and using your pencil stroke to show direction. Leave a white edge at the spot where the water meets the land and then use short, straight, parallel lines to add in the “color” of the water. Make the strokes darker in the water than the subject that is being reflected — objects in the water are always darker.
6. Use Fast Strokes for Foaming, Bubbling Waterfalls
Use Tip 1 for realistic texture for rocks to create the foundation of your waterfall scene. Then “be the water,” moving your pencil strokes over and around the rocks, using long strokes to show smooth falling water over rocks, and circular scribbles to draw frothy foam. Take it one segment at a time, then use your pencil stump to enhance and add final details with the pencil back on top as needed.
I hope you’re inspired to take a walk outside, pencil and sketchpad in hand, and explore the world around you with the eye of an artist as you practice your pencil landscape drawings.
Purchase a complete Landscape Drawing Basics video workshop with Claudia Nice here. Videos are free to members!


Oh wow! Lovely!! It’s been so long and life has beat up my hand. I hope I can regain the use of them enough to draw again! I know I’m going to try!!