Techniques from a Top Urban Sketcher

Marc Taro Holmes has worked as an art director and conceptual designer at studios such as Electronic Arts, Microsoft, and Disney. He has also made a name for himself as a top urban sketching artist and instructor.
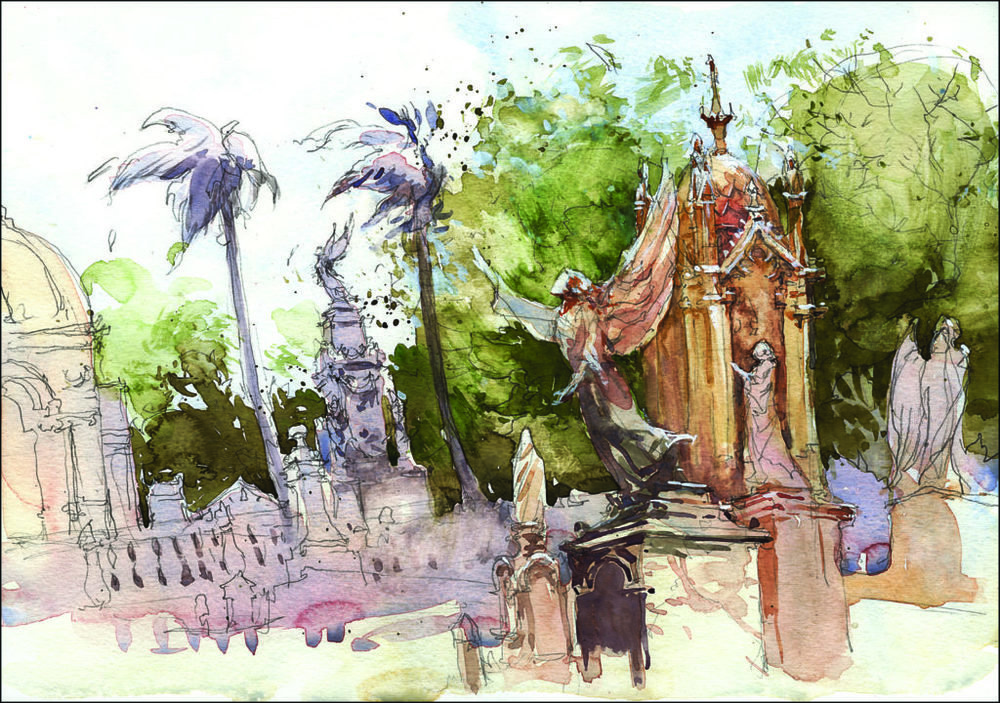
In this short video, he shares drawing tips on how to quickly establish an accurate composition, how to add notes of interest with pen, and how to pull your painting together with watercolor tinting.
Sight-Size Drawing for the Urban Sketcher
Holmes has a unique take on sight-size drawing, which he calls drawing from the outside in. He believes this approach can free you to draw almost anything, from complex subjects to slice-of-life sketches that you can create in mere minutes. Below, he shares his tips and techniques.

Start with Accuracy and Observation
Urban sketching is about observing the world, witnessing, and recording. Thus, we want to be able to draw reasonably accurately. That does not mean photographically real — that kind of drawing is for studio artists who want to spend a great deal of time on a drawing.
As urban sketchers, we want to simply sketch in a descriptive way to show people our stories. We want them to not only see what we’ve seen, but also to feel what it was like to be there. To that end, we must be able to draw anything we might encounter. We can’t be good at faces but not at architecture, or avoid cars because their shapes are complex. We need an all-around comfort with drawing, where any subject is equally achievable.
Sight-Size Drawing, Measuring, and Angle Checking
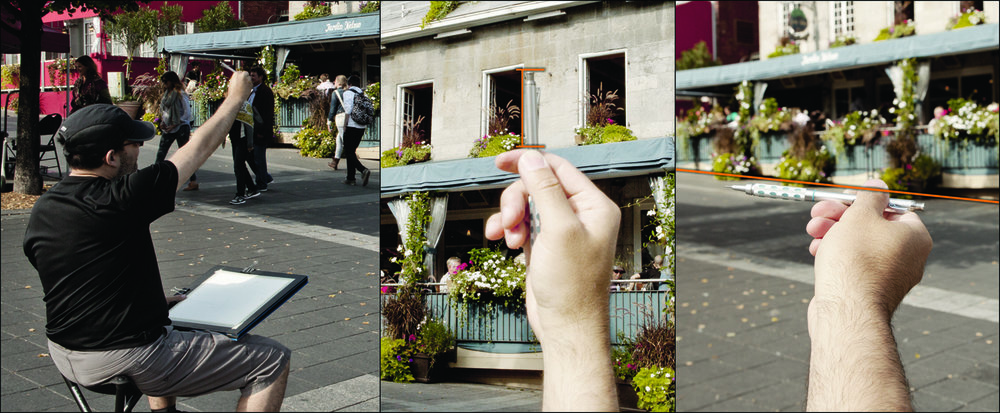
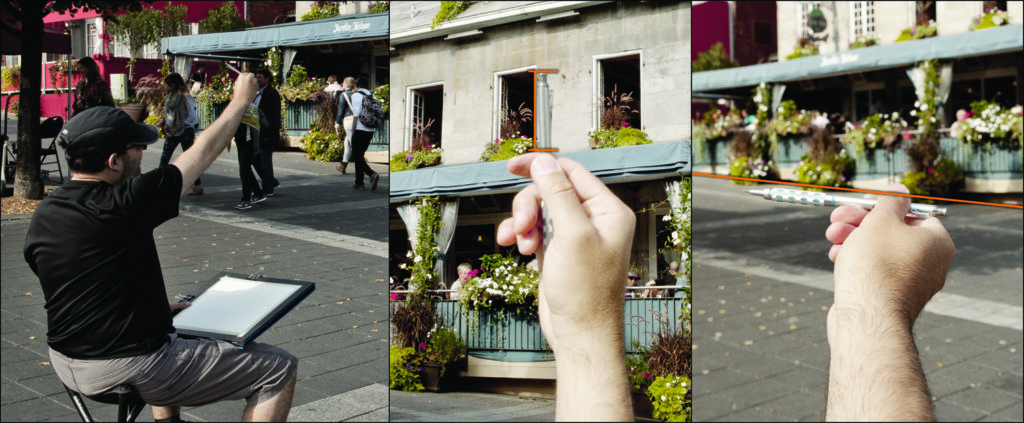
You’re probably familiar with the image of the artist with his arm extended, holding a brush upright, thumb up like a hitchhiker. This is not just a funny stereotype of an artist — it’s a real measuring technique. In these shots I am checking things like the angle of the sloped street, and the height of the windows.

Drawing from the Outside In
Drawing from the outside in is a principle I’ve adopted in approaching all my sketches. The idea is to work larger-to-smaller, establishing the big shapes before investing time on the details. It’s a very fast way to sketch and a lot of problems with these outside shapes can be solved by doing corrections when things are still simple outlines.
Try to spot any errors in proportion in the first few minutes of a sketch. There’s nothing more frustrating than drawing in a lot of interesting details, only to realize you’ve drawn an important element out of scale. Or that you haven’t judged the height right, and you’re about to go off the edge of the page. That has happened to me many times, but there are two simple techniques I call “sight measuring” and “angle checking” that can help you spot these issues early on. They’re a simplified version of what is taught in fine-art ateliers as sight-size drawing.

An Alternative to Sight-Size Drawing
Sight-size drawing, when done in the traditional manner, is a technique for the perfectionist. The artist must stand at a set distance from the subject and draw the subject to the scale it appears from that distance — the exact size that is in sight. The drawing is positioned vertically on an easel, directly parallel to the model. Precise measurements (using calipers and plumb lines) can be accurately checked between the drawing and the subject. It gives you a perfect drawing, but it it’s only for the most patient and determined of artists. Drawing from the outside in is a much looser way of sigh-size drawing. The trick is finding what simple measurements can be used to break down this complex shape.
Don’t confuse yourself with a lot of geometry homework — just find a few hints as to the height and width. You also must decide on the level of accuracy you are after. Do whatever measuring you need to do so that you are satisfied with your drawing. You decide how accurate you want it to be. I enjoy it when everyone can easily recognize my subjects, but I don’t want to be doing so much measuring that the drawing feels mechanical. Accuracy is a skill that should allow you to do more challenging things, not slow you down.
Start with an Outline
Decide roughly how large you want the sketch on the page. Mark a small dash at the top and the bottom of your subject and lightly sketch a scribble of the outside shape. Don’t add internal detail, just focus on the silhouette, as if it was cut out of a piece of paper. This simple outline sketch is all you need to do to ensure accumulating proportional errors don’t expand off the edge of the page. You have a “box” to work within. All future details will fit inside this box.
Get Points of Comparison
As you look at the subject, extend your arm straight (elbow locked), and line up the tip of your pencil with the top of the subject. Slide your thumb down until it’s lined up with the base. That position you’ve marked on your brush or pencil—that is a unit measure you can use to check against other objects. Keep your thumb in position on the pencil to preserve the measurement you have marked. Keep your elbow locked to maintain the same distance from the subject. Don’t move your feet either. If you step back, the scale of everything will change. Look for something you can compare your measurement against. This gives us something we can check in our drawing. There won’t always be a perfect match. Sometimes you’ll have to estimate.
Angle Checking
The next kind of measurement is what I call an angle check. It’s is ideal for finding roof lines, or checking perspective on narrowing city streets. Measure the slope between two points. Place the base of the pencil on the first point, holding the pencil vertically, then rotate the tip until it lines up with your second point. Now lock your wrist. Don’t move the angle of the pencil. Simply place it over your drawing and see how well the angle lines up with what you’ve drawn.
Now Let Loose
Now that you’ve confirmed the silhouette of your object or scene, you can kick back and have fun. By starting outside-in, you can see for certain that you have a shape you like before you get into those details. Freely scribble in the pattern. Don’t stiffen up while doing it. You wouldn’t feel as free if you weren’t sure about the underlying structure, and it wouldn’t turn out as loose and sketchy as you want. Oddly, it’s the sight-size drawing and measuring that allows the sketch to look spontaneous. Many artists use the saying, “Loose is how a drawing looks, not how it’s made.”
Beyond Sight-Size Drawing
This article is an adapted excerpt from Marc’s book: The Urban Sketcher. Learn more sketching techniques from Marc himself in his videos on urban sketching—free for Artists Network members. You will discover how to draw everything you see around you with quickness and confidence!


Have a technical question?
Contact UsJoin the Conversation!